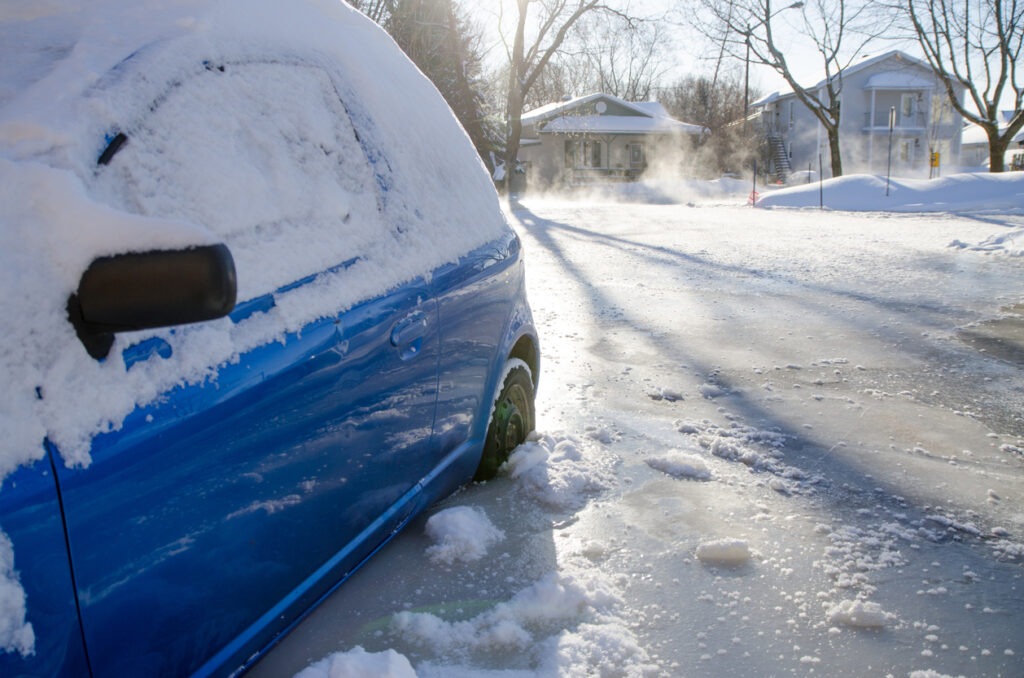
3 Things to Know While Going Through Water Damage Restoration
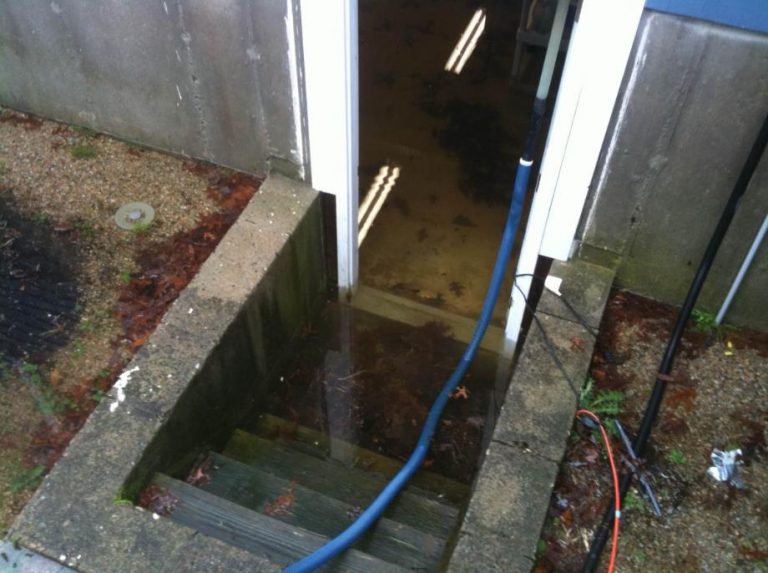
Water-Damage-Restoration-Mississauga

Water-Damage-Restoration-MississaugaWhether your pipes are leaking, or your sewer lines have just burst, a business that has been severely damaged by water can become a major issue. If your property is affected by water damage, it’s crucial to not only identify what the cause of it could be but to also act quickly in order to avoid further damage.

Water can wreak havoc on your commercial space and quickly rack up a hefty restoration bill if left unattended. If your business in Mississauga has recently experienced water damage, it’s important to assess the situation right away to ensure that repairs are done quickly. Here are a few water damage restoration tips for your business.

Call ‘Water Damage Restoration Near Me’

If water damage occurs, the first thing you should do is call a water damage restoration company. Water damage can quickly go from bad to worse if you don’t act right away or don’t know what to do. Thankfully working with a water damage restoration expert can significantly improve the outcome should water damage occur.

Unplug, Disconnect and Remove Appliances from the Immediate Area

When you discover water damage, it’s important to unplug and disconnect any appliances surrounding the water damaged area. Additionally, as an extra safety precaution, move/remove any appliances from the area as well.

Even if there doesn’t seem to be much water damage just yet, you should be cautious around appliances and any other electrical equipment. Using an appliance or equipment that uses electricity could be yourself and others in danger of an electrical shock or even an explosion.

Inspect for Mould and Remove Damaged Materials

One of the biggest reasons to act quickly in the case of water damage is due to the creation of mould and mildew that could develop within 24 hours after the incident. Mould can be toxic and pose serious health risks. Be sure to inspect the walls, floors and anywhere else water damage occurred.

If you have any porous materials, such as insulation or carpet, and they are soaked with water, then they will need to be removed and disposed of immediately to avoid mildew.

Grandmother’s Touch: Your Water Damage Restoration Company

Our expert team at Touch With Care has over 20 years of experience in water damage restoration in Mississauga. If your business has experienced a flood or a water leak, one of the most important things you can do is to act quickly to address the situation by calling for water damage restoration near you. Contact us today to find out how we can help with your water damage restoration needs.

How to Prevent Winter Flood Damage

The season for winter flood damage is just around the corner! Prevent it by taking these preventative steps.

Canada’s cold temperatures can wreak havoc on your plumbing system, causing serious flooding. While you can’t control the weather, you can take preventative measures to help avoid any leaks or burst pipes. Here’s a list of ways to prevent winter flood damage.

Common winter problems

As the temperature dips below zero, there are several common problems you’ll want to avoid:

Frozen pipes

Get your plumbing checked before freezing temperatures hit to make sure your pipes are protected. If you check your pipes and find that the system is already frozen, call a professional and do not use your plumbing, as that can cause the pipes to burst.

Broken water heaters

Your water heater typically works harder during the colder months since the water needs to be kept at a certain temperature. If your heater is around 10 years old, or you notice your water isn’t as hot as usual, get the system checked by a professional to avoid any leaks.

Clogged drains

Clogged drains are more likely to happen in the colder months, especially during the holiday season, due to more guests and visitors coming into your home. Clean out your drains before winter hits to avoid any plumbing leaks or floods.

Water line leaks

Water line leaks in the winter can be especially difficult. Older pipes are more likely to leak. Watch out for a frozen line, which can split the pipes. To prevent these issues, check that your water line is well-maintained before the weather gets cold.

Burst septic tank

Freezing weather could cause the line from your home to the septic tank to freeze or the tank to burst. Clean out your tank in the summer or fall to prevent this.

Take preventative measures

Other than routinely checking your systems, there are several other steps you can take to avoid winter flood damage:

Make sure your pipes are insulated

Step one of winterizing your house is to wrap a layer of insulation around your pipes. Insulation is usually made of fiberglass or polyethylene, and it helps prevent burst pipes by providing extra protection against the cold.

Let your faucets drip

This may seem counterintuitive, but allowing your faucets to drip in the winter keeps the flow going, which can alleviate the pressure that would otherwise build up and cause burst pipes.

Heat your home, even if you’re not there

Don’t turn your heating completely off when going on vacation. This can stop your pipes from freezing. Keeping the temperature above 10 degrees is all that’s needed to keep your pipes warm.

Fix leaks before they get worse

Repair any leaks, no matter how small. Winter is the worst time to ignore a leak. It’s a good idea to check all the areas where you have plumbing running for leaks, such as the backs of cabinets or below your sinks. Keep cabinets open overnight to encourage more heat to reach the pipes.

Keep a cool head

Winter flood damage can be disastrous, which is why taking a few preventative steps in the winter is vital. If you notice any serious leaks or damage while winterizing your home, don’t hesitate to call a professional. It could be the difference between a cozy winter and a burst pipe.

Need help with water damage? Grandmother’s touch has a highly experienced team that is prepared to act quickly across Toronto and Mississauga. We respond within the hour to limit the possibility of water damage, electrical dangers, the growth of mould and bacteria, and structural harm to your home or business. Contact us when disaster strikes.

Flood Damage Restoration: DIY or Call a Professional?
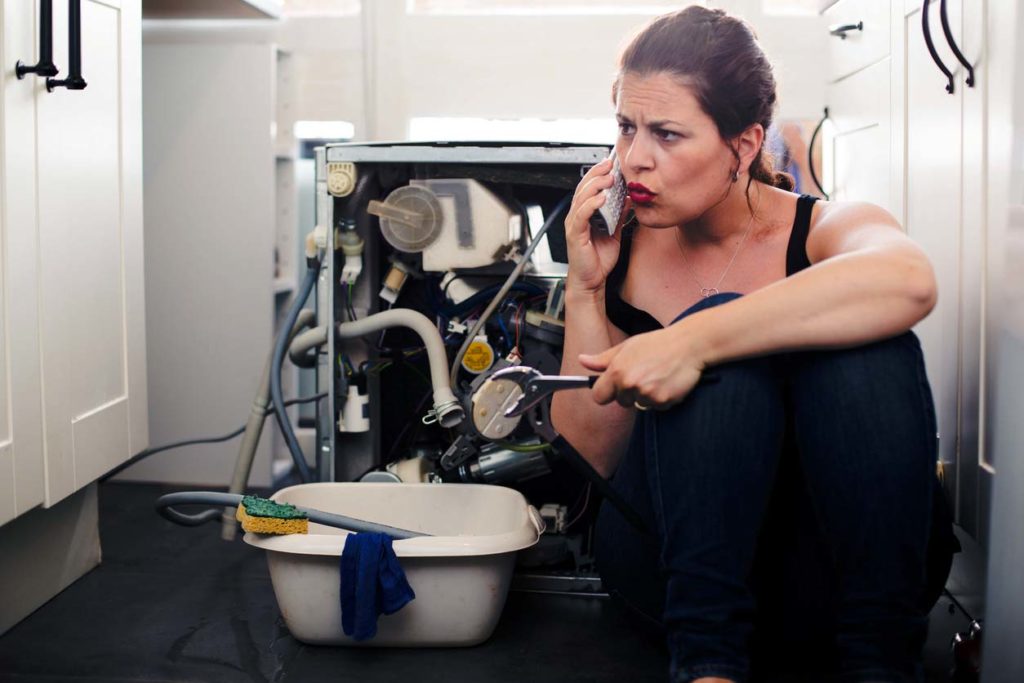
Flood Damage Restoration: DIY or Call a Professional?

Flood Damage Restoration: DIY or Call a Professional?Assessing your home for flood damage can be overwhelming. Here are some of the dos and don’ts of flood repair, and some tips on when to call a professional.

Floods can cause devastating damage to your home. From contaminating drywall and wallboards to destroying plaster, insulation and wood structures, flood damage is a serious issue and can take a significant amount of time to fix.

While it’s tempting to take a DIY attitude to after-flood repair, there are some things that are best left to the professionals. Here’s a list of dos and don’ts when dealing with the aftermath of a flood, along with tips on when to call for help.

What to know before you clean

Before you’re able to assess and repair the damage, make sure the area is safe for you and your family. Call a professional when dealing with unsafe electrical issues and structural damage.

The Dos of safety assessments:

  • Do look for broken power and gas lines. Smell for gas, and check for foundation cracks and damage to the exterior of the building
  • Do safely turn off all water and power
  • Do check for major structural damage before entering the home

The Don’ts of safety assessments:

  • Don’t stand under sagging ceilings or walk on sagging floors
  • Don’t use your electrical appliances. If the ceilings are wet, don’t turn on lights or fans.

What to know when you start cleanup/damage repair

After you’ve assessed the flood damage, you’ll want to fix any safety hazards first. While some projects are doable by yourself, serious damage to plumbing, walls, and flooring should be dealt with by a professional.

Dos of initial cleaning:

  • Do make sure your running water is drinkable, as pipes may have been damaged in the flood. To check for clogs, flush your toilet before use.
  • Do identify any unstable areas in your home, such as cabinets that could fall down due to damage.
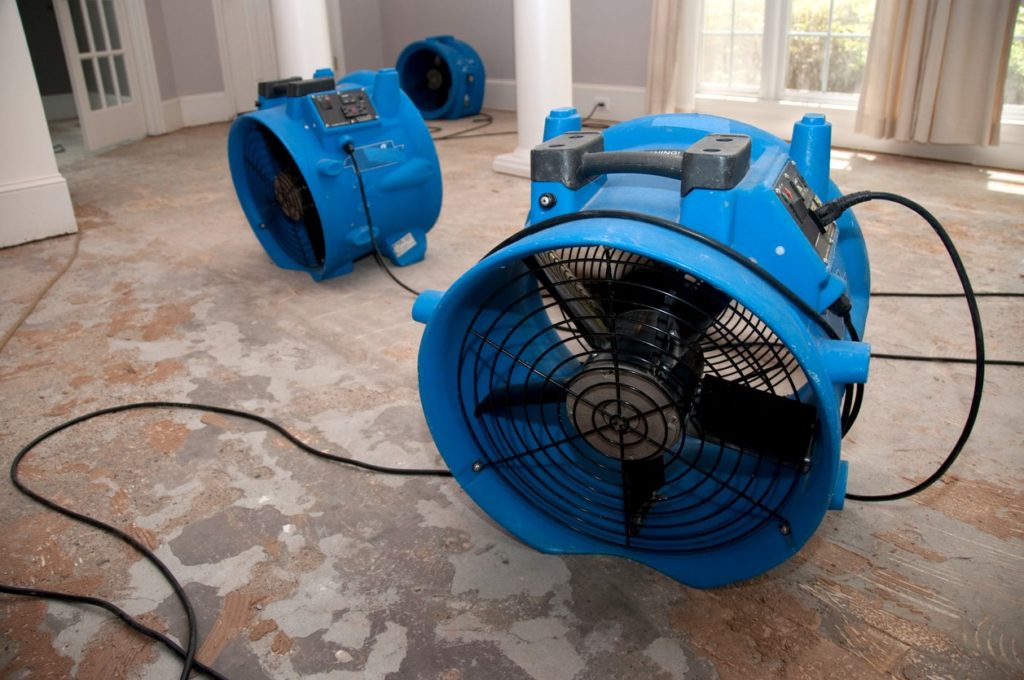
  • Do remove any debris and any water trapped in the walls. You’ll also want to open all the windows and doors to help with ventilation. To dry flooded areas, you can use any combination of a wet vac, shop vac, fans, dehumidifiers and moisture drying materials (called desiccants). This is a good time to reach out to a professional cleaning crew to ensure your house is thoroughly dried.
  • Do patch up holes in the walls and roof temporarily with plastic sheeting and tarps. You can also repair floors and roof sections with 4x4s at this stage.

Don’ts of initial cleaning

If your basement is flooded, don’t drain it too fast. Sudden changes in pressure could lead to your foundation collapsing.

  • Don’t try to repair structural and electrical issues yourself. Call an expert. Another good tip is to avoid connecting a generator to your house’s untested power system.
  • Don’t use a regular, household vacuum when trying to dry the area and remove mud.

What to know once all major issues are handled

Once you’ve finished all the serious repairs, you can focus on the secondary issues. Make sure to stay safe and hygienic during this phase of the cleanup. Wear protective clothing (such as boots, mask, and rubber gloves) and wash your hands often.

Dos of secondary repairs

  • Do throw out all wall coverings (such as wooden panels) to avoid any undetected mold. You’ll also want to remove any drywall, finished ceilings and insulation that’s been damaged by the flood.
  • Do thoroughly disinfect your home and throw away any exposed food or medicine, including canned goods. Make sure all hard surfaces are cleaned with hot water and soap or detergent. Finally, wipe down and dry any wooden items.
  • If you have furniture that can’t be moved, do put wood blocks or aluminum foil beneath the legs of your furniture to lift it up off the floor.

Don’ts of secondary repairs

Don’t throw out all your damaged floor and wall coverings. You’ll need a piece of the damaged items to show your insurance assessor

  • Don’t keep any permeable material, like foam rubber or padded furniture. This type of material should be thrown out after a flood.

Know when to ask for help

It’s definitely possible to do many repairs on your own after a flood, but some jobs are best left to a professional. It may seem cheaper to repair flood damage on your own, but supplies and machine rental costs add up quickly. For serious damage and quality cleaning/drying services, it’s best to reach out to a trusted pro, like Touch With Care.

Flood Damage Restoration: DIY or Call a Professional?

Water Damage to your Ceiling? Here’s What to Do

Water Damage to your Ceiling? Here's What to Do

Water Damage to your Ceiling? Here's What to DoA ceiling leak needs to be taken care of quickly and carefully. Check out our step-by-step guide on how to repair water damage to your ceiling.

Ceiling leaks are often easy to spot, but difficult to treat. Water damage to the ceiling is caused by a variety of issues, including burst or leaky pipes, a toilet or bathtub that overflowed, or a leaky roof.

Ceiling leaks come in two categories – slow leaks and large leaks. Slow leaks can start with a trickle and often lead to yellowish-brown stains and mold. Large leaks are more obvious and can cause structural damage to the ceiling. In both cases, it’s important to catch the causes early and know what to do. Check out our step-by-step guide to treating ceiling damage.

Step 1: Locate and fix the cause

When dealing with a leaky ceiling, it’s important to find the cause of the leak as soon as possible. Plumbing issues and leaky roofs are the most common causes of water damage.

Plumbing

If the cause isn’t obvious, check the bathroom caulk, which can wear away, letting water drip through the walls. Pipes can also sweat in the winter or summer. Fixing any plumbing issues is an essential first step if this is the cause.

Leaky roof

If you’re dealing with a leaky roof, take a look at the shingles. Damaged shingles are a common cause for leaks and should be fixed quickly.

Step 2: Dry out your ceiling

Make sure to dry out your wet ceiling and the wood joists inside quickly to limit mold growth and water damage. Regular house fans are an option, but they can take days or weeks to fully dry the ceiling. To prevent water damage to your ceiling, your best bet is to use a high-volume fan and a structural drying dehumidifier. The right equipment can shorten the drying process from about six hours to a full day.

A moisture meter is a great way to ensure the ceiling is fully dry.

Step 3: Repair the damage

If your ceiling only has minor damage, you can usually repair the area without having to replace the drywall or plaster. Simply remove loose debris by scrubbing the area with a brush, then wipe it with a clean, damp cloth and air dry.

Any small cracks can be fixed with plaster or drywall mud. Gaps that are less than half an inch wide can be fixed using a putty knife. Wider gaps should be filled in and then sanded smooth.

For major damage, the affected area will have to be cut away and replaced. Box cutters or drywall saws are an effective tool for cutting through drywall ceilings. Once you’ve taken the damaged drywall off, cut a new piece smaller than the hole and make sure to screw it into the joists. Seal the gaps by taping the joints. If your ceiling has plaster, you’ll have to replace the backing material (or lathe) and apply new plaster in thin layers. Make sure each layer is dried before applying more plaster.

Step 4: Seal and paint the damaged area

The last step is to paint the damaged area. Start by using a sealing primer. Not only will this stop the ceiling from soaking up paint, it’ll also cover water stains. Once you’ve applied at least two coats of primer and let those coats dry, you can start applying your top coat.

Repairing ceiling damage – minus the stress

Fixing water damage to your ceiling doesn’t have to be an overwhelming job. If you’re quick to find and fix the cause, dry the area properly and repair it well, your ceiling should look like new. For a major leak, it’s a good idea to call in an expert to ensure your ceiling is repaired properly

Need a restoration specialist? Touch With Care’s highly experienced team is prepared to act quickly across Toronto and Mississauga. We respond within the hour to limit the possibility of water damage, electrical dangers, the growth of mould and bacteria, and structural harm to your home or business. Contact us when disaster strikes.

Water Damage Restoration: How to Keep Your Property Protected
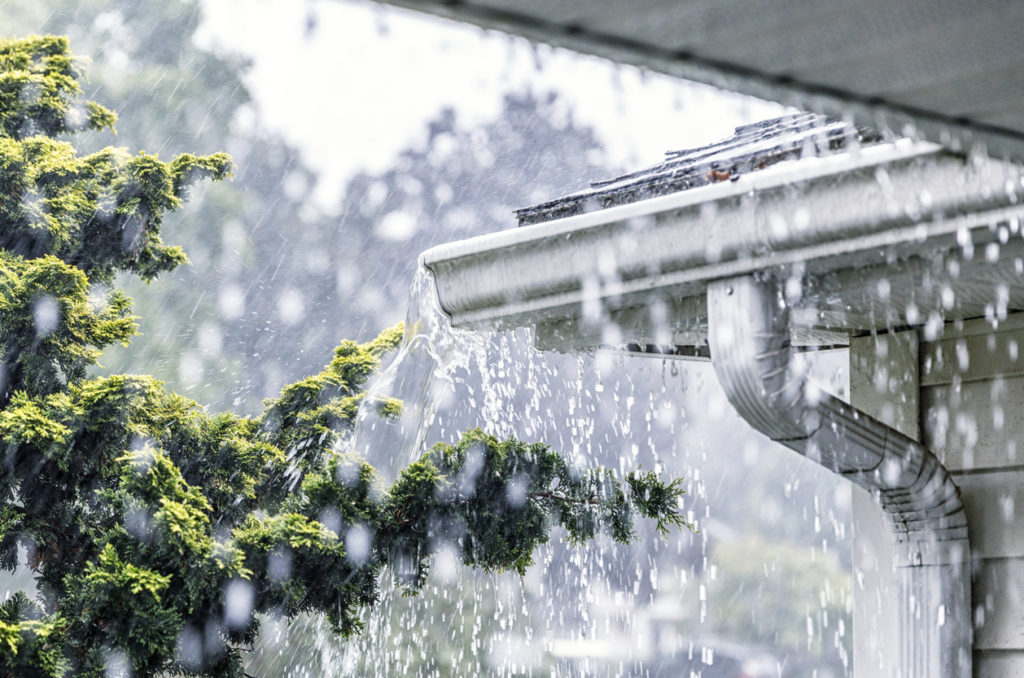
Water Damage Restoration: How to Keep Your Property Protected

Water Damage Restoration: How to Keep Your Property ProtectedWater damage restoration is costly and time-consuming. Here’s how to prevent leaks and water damage.

Water accounts for half of all Canadian home insurance claim costs, beating out theft and fire. The threat of water damage comes from both inside and outside the home, but there are plenty of preventative steps you can take to keep your home safe and dry!

Here are the best ways to stop flooding and leaks in their tracks and avoid expensive water damage restoration!

1. Keep an eye on your roof

Roof leaks can start small and unseen, leading to extensive damage over time. Attic insulation becomes wet, leading to rot and mold growth, in addition to a weakened roof structure. Have your roof inspected occasionally and repair damaged or missing shingles as soon as possible. Rubber and asphalt shingles generally last a minimum of 15 years, so if your roof is nearing the end of its lifespan, it’s best to replace it.

2. Clear gutters and downspouts twice a year

Leaves, twigs, pine needles and other debris can build up in your gutters, leading to clogged and sagging gutters, mold growth, a leaky roof or water damage. It’s recommended to clean your gutters twice a year, usually in the late spring and then again in the fall. Besides removing large debris, flush your gutters with a garden hose to remove smaller particles and check your downspouts for blockages. Rusted, sagging or cracked sections of the gutter should be repaired to prevent water damage to your home.

3. Small leaks hurt big

Ten percent of homes have water leaks that waste more than a bathtub full of water every day. And it’s so easy to underestimate how much these silent leaks are costing you. The City of Toronto says a nail-sized hole in your plumbing can cost you $60 a day, while a leaky toilet can run you up to $85 a day. An easy way to catch these leaks is to track your monthly water bill, as a sudden jump with no corresponding increase in water use can signify a problem.

Check plumbing and appliances for leaks, especially washing machines, dishwashers, fridges, and other water-using appliances. Pay close attention to their hoses and replace brittle or broken ones quickly. It’s also a good idea to periodically pull your appliances away from the walls or cupboards and look for signs of water damage in the surrounding area.

4. Use flood detection devices

Zigbee-powered flood detection sensors detect moisture and wirelessly alert you to leaks and flood damage in real-time, avoiding any water damage restoration efforts. You can install them near water heaters, under appliances, or in basements or bathrooms.

5. Know where your main water shut-off is

In the event of a main pipe bursting, large amounts of water can flood your home in minutes. Knowing the location of your home’s main shut-off valve will let you react quickly and limit the amount of water damage. Make sure every member of your family knows where it’s located as well, along with your toilet shut-off valves.

Protect your home

When it comes to preventing costly water damage restoration, defense is the best offense. These tips will help prevent damage to your home from harsh weather events or defective plumbing.

Need a restoration specialist? Touch With Care’s highly experienced team is prepared to act quickly across Toronto and Mississauga. We respond within the hour to limit the possibility of water damage, electrical dangers, the growth of mould and bacteria, and structural harm to your home or business. Contact us when disaster strikes.

Water Damage Repair: How to Fix Your Floors After a Flood

Water Damage Repair: How to Fix Your Floors After a Flood

Water Damage Repair: How to Fix Your Floors After a FloodGot water damaged floors? As experts in water damage repair, here’s a guide on how to approach the clean-up, by floor type.

If not handled quickly, water damage can destroy your floors and get into the sub floors. Regardless of your floor type, the first step in any water damage scenario is to find and fix the leak quickly. Once that’s done, follow our water damage repair guide to see how to properly repair any type of flooring, from hardwood and laminate to carpet.

Dry it out

No matter what type of flooring you have, it’s vital to fully dry the area before repairs can begin. If you’re dealing with large pools of water, use a wet vacuum, then put dehumidifiers and fans in the room for a couple of days. In mild cases, this will be enough to fix the damage.

Hardwood floors

First, identify all signs of water damage, such as cupping, dark spots, bulging or buckling. If only a few boards are affected, you can most likely nail or screw them back in place.

If the damage is more serious, use matching wood and replace the individual floorboards. For excessive water damage, you may have to cut the affected area out using a saw. Once this is done, use a pry bar to remove the floor planks.

If you’re dealing with solid wood floors, make sure you replace the boards first, nail them to the floor, then sand both the new and old flooring. This way, they’ll match perfectly before you stain them. Once you’re ready to stain your wood floors, apply several coats, then several more coats of polyurethane finish.

Some damage is so bad that it’ll actually cost less to remove the entire damaged floor instead of trying to repair the area.

Laminate Floors

While laminate finish is water-resistant, when water does get in through a leak, the internal materials will absorb the water, leading to swelling and separation beneath the finish. If you’re dealing with major flooding, like a basement flood, you’ll have to replace the entire laminate flooring.

For mild to moderate flooding, the water damage repair process is a little simpler. You may be able to salvage some flooring sections. Once the floor is dry, you’ll be able to examine the damage and determine how much needs to be repaired. If you’re dealing with smaller damage, you can simply replace the affected boards.

Carpets

An upside to having carpets is that they can handle a large amount of water, though it’s important to dry out your carpets quickly to stop mold and mildew growth. Your best bet to salvage your carpets is to rent a carpet cleaning machine, which will extract the water fairly quickly. This may also be a good time to call in a professional floor care company.

Once you’ve dried your carpets, have them professionally cleaned. At this point, you’ll have an idea of whether or not you’ll need to replace the carpets.

Tile Floors

While it’s true that tile is water repellant, significant flooding can cause water to seep in through the cracks in the grout and cause damage to the subfloor.

After your floors are dried well, access the damage. If the subfloor is fine but some tiles are loose, simply lift the tiles from the floor with a standard head screwdriver. When replacing the tiles, make sure to match the new grout to the old grout as closely as possible.

Vinyl and Linoleum Floors

Once you’ve dried your floors (try using fans and increasing the temperature on your furnace), identify which sections need to be replaced. First, cut out the damaged portion with a utility knife, then use a screwdriver to pry the tiles off the floor.

Watch out for damage to the subfloor. Once water gets in, the wood can swell and shrink when it dries.

Repairing damaged subflooring

First, use a circular saw (set to 1 inch depth) to get rid of the damaged portion. Next, take out any protruding nails using a pry bar, then vacuum any debris. If you notice the area under the subfloor is still wet, dry it fully.

You’ll want to use 2 x 6 lumber as your floor frame, which will support the new subfloor. You can use a piece of ⅝ inch CDX plywood as the new subfloor, just make sure to cut and measure it carefully. Leave a ⅛ inch gap between the subfloor and the new plywood. This will allow for expansion.

Your last step is to use galvanized 8d nails (deck screws would also work) to fasten the new plywood to the framing.

Don’t make it complicated

Flood-damaged flooring can be difficult to deal with, but if you take the right steps and dry it thoroughly, you should be able to salvage your floors. For excessive flooding, consider reaching out to a professional to ensure quick and effective water damage repair.

Need a restoration specialist? Touch With Care’s highly experienced team is prepared to act quickly across Toronto and Mississauga. We respond within the hour to limit the possibility of water damage, electrical dangers, the growth of mould and bacteria, and structural harm to your home or business. Contact us when disaster strikes.

Ask a Restoration Specialist: Our Flood Recovery Checklist
Ask a Water Remediation Specialist Our Flood Recovery Checklist

Ask a Water Remediation Specialist Our Flood Recovery ChecklistRecovering from a flood is no easy feat. Check out our flood recovery checklist to give your home its best chance.

Flooding can be devastating to your home, which is why it’s essential to begin flood recovery work immediately. While it’s important to get experts involved right away, there are things you can do to help with property recovery. You’ll want to remove contaminated water, decrease indoor humidity, and deal with mold damage quickly.

We’ve compiled a flood recovery checklist to help get your recovery efforts started.

Step 1: Take precautions and make the right calls

Before anything else is done, you’ll have to make sure that flooding hasn’t destabilized your home’s structure. While working, always wear protective gear like boots, safety goggles and gloves.

Once you’ve taken the proper precautions, it’s time to call your insurance company. Your agent should help you with the next steps and can even recommend a professional flood damage restoration service.

Make sure to document all losses by taking photos with date and time stamps. You’ll want to have photo evidence of how high the water rose during the flood and all damaged personal belonging.

The next call you make should be to a licensed electrician since water damage can affect a structure’s electrical system. It’s not safe to do any electrical work on your own, even simply shutting down the main circuit box.

Step 2: Begin preliminary cleanup

Cleaning up after a flood is one of the hardest parts of a flood recovery checklist. This is a long process that can last anywhere from several weeks to several months. To start with, you’ll want to shovel mud from all hard surfaces. Spray wash when you can to help speed up the job. Use heavy-duty detergent and hot water to do an initial clean on all hard surfaces, then run fans and dehumidifiers to help with the drying process.

Disinfecting your home after a flood is difficult, but as a first step, you can mix a quarter cup of chlorine bleach with one gallon of water (4.5 litres). Make sure you’re wearing an N95 mask to protect yourself from mold spores and any airborne contaminants.

Step 3: Tackle the carpets and furnishings

While it’s impossible to prevent mold growth on carpets, mattresses and upholstered furnishings after a flood, you should still move destroyed items outside immediately to reduce humidity and mold cross-contamination in your home.

Furniture that isn’t completely destroyed should be dried inside, as sunlight can warp trim and frames. The drying process will take weeks or months.

Step 4: Deal with the walls and floors

Even if your walls seem undamaged, they could be hiding mold and wood rot. You’ll want to tear out the drywall above the waterline (which you would have documented in step one).

Once that’s done, remove any wet insulation, rinse off the remaining mud, and allow the area to dry out with the help of fans and dehumidifiers.

Post-flood, hardwood floors are susceptible to buckling. Avoid this by removing one floorboard every few feet. Before replacing and repairing the boards, make sure you clean and dry your wood floors. Like furniture, drying time can range from weeks to months.

To help the drying process, we recommend removing sheet and tile flooring. If you’re dealing with severe water damage, it’s best to leave this job to a flood damage restoration specialist.

Keep in mind that while you can dry damp wood subfloors, this is a lengthy process. Watch out for swelling and warping, and remember that plywood and OSB subfloors will have to be replaced if they were submerged.

Step 5: Keep cleaning

At this point, it’s important to identify what needs to be replaced and what can be cleaned and sanitized. Make sure to thoroughly disinfect walls, floors and woodwork to avoid more mold growth. Use a phosphate-free cleaner to sanitize walls, baseboards and floors, and clean walls from top to bottom.

You can kill surface mold using the chlorine bleach and water solution mentioned above. Again, make sure your fans and dehumidifiers are on day and night.

Once that’s done, identify what is destroyed and what can be salvaged. If possible, collect and keep all documents, records and photographs. Restoration specialists are often able to save some valuable items such as photographs and documents.

Step 6: Watch out for mould

Small mould cleanup jobs can often be tackled by a DIY method, but if you’re dealing with extensive mildew and mould issues, we recommend hiring a certified mould removal technician to help out. You’ll need a professional if:

  • You’ve found mould growth in porous materials such as wall coverings, wood, concrete and drywall.
  • Mould growth covers over 3 square feet.
  • Mould is growing on hard-to-reach surfaces, like behind walls and inside your ceiling.
  • Members of your household have respiratory or immune system issues, which can be exasperated by mould growth and spores.

Know when to call for help

Recovering from a flood is a long and arduous process. While our flood recovery checklist is a good start, it’s often crucial to get flood remediation experts involved to ensure your property is fully cleaned and any salvageable personal property can be restored. Our team of experts are happy to help turn your house into a home again.

Ask a Restoration Specialist: How to Prevent a Basement Flood
Ask a Restoration Specialist: How to Prevent Basement Flood

Ask a Restoration Specialist: How to Prevent Basement FloodSome basic home upgrades and a keen eye can go a long way to preventing a costly basement flood. Tackle these six projects to get your home flood-ready.

Contrary to popular myth, flooding can happen anywhere in Canada at any time of year – not just along waterways, coastlines or floodplains. Basement flooding occurs due to sewage backups or overland flooding, which is when water flows over the ground and enters buildings through windows, doors or cracks.

Now more than ever it’s important to be prepared for a basement flood as water damage and flooding is the single largest source of personal property insurance claims in Ontario. Increasingly severe weather is only expected to increase the risk of flooding.

There are lots of ways to reduce the risk of flooding and minimize potentially expensive damages. Here are our top recommendations:

Protect your basement windows and doors

Windows and doors at ground level are vulnerable to leaks. You can increase water resistance by putting sealant around basement window frames and the base of doors. Installing flood shields can help prevent water from pooling in window cutouts.

Properly grade your landscaping

You want to make sure your landscaping is graded so that water runs out and away from your basement walls on all sides. A yard that slopes towards your house can funnel water into your basement instead of away from it.

Clear all gutters and drains

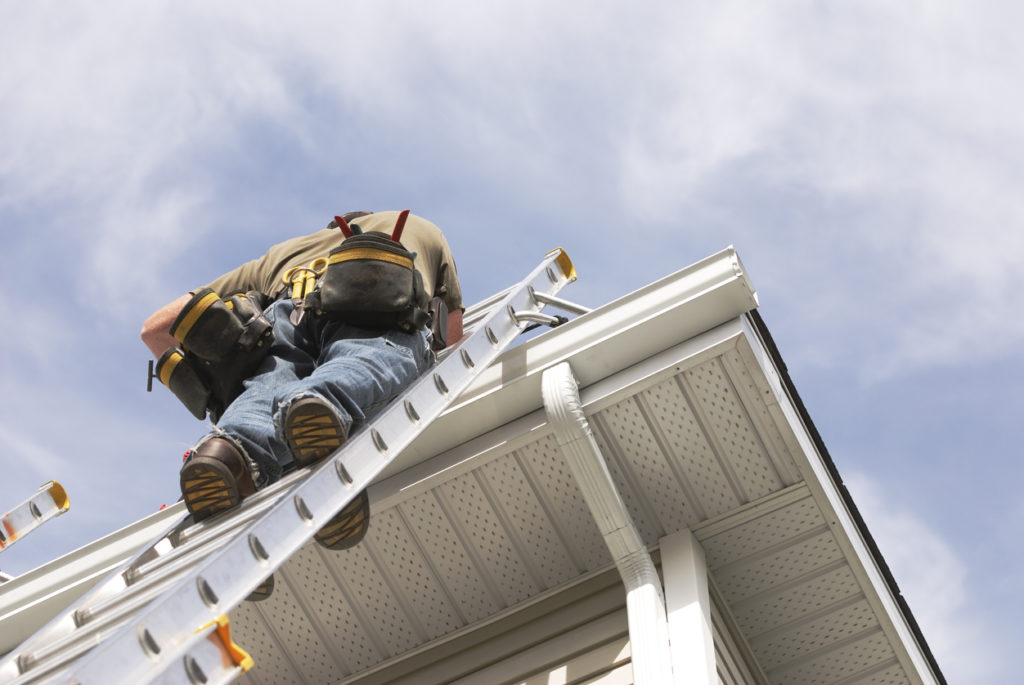
You’ve got systems in place to direct water flow, so the first step is to make sure they’re working properly. Grab a ladder and carefully check to see if your roof and eavestroughs are clear of leaves, pine needles and other debris that can clog them during heavy rainfall. Afterwards, have a peek at your basement flood drains to ensure they aren’t blocked or covered up.

Extend your downspouts

The second step is to make sure your downspouts extend at least six feet away from your basement walls and drain water away from your home towards the street, backyard, or back lane.

Install and maintain your sump pump

A sump pump is a submersible pump installed in a pit at the lowest point of the house, usually beneath the basement floor or in the crawl space. It has a valve that can sense rising water levels beneath the home and will automatically pump excess water away from your property via a discharge line into a drainage area to prevent flooding.

If you already have one installed, make sure your sump pump is working properly. If your budget permits, a battery backup will ensure your pump still works in the event of a power outage.

Choose backflow valves for laundry and bathrooms

Installing backflow valves for drains, toilets and other basement sewer connections can prevent basement flooding caused by overloaded sewer lines backing up. The valve automatically closes if water or sewage from the mainline reverses flow and tries to infiltrate your basement bathroom or laundry room.

Conclusion

Preventing a basement flood requires foresight and likely some home upgrades. But combined with the correct home insurance coverage, you can rest assured your home is as prepared as possible for the next thunderstorm or snowfall.

When you experience a flood, an urgent response will limit damage to your home or business. Touch With Care’s team of highly experienced restoration specialists are prepared to act quickly across Toronto and Mississauga. We respond within the hour to limit the possibility of water damage, electrical dangers, the growth of mould and bacteria, and structural harm to your home or business. Contact us when disaster strikes.

Top Five Tips For Preventing Basement Flooding

Top Five Tips For Preventing Basement Flooding

Top Five Tips For Preventing Basement Flooding

Every home with a basement carries a risk of basement flooding. Here’s a quick overview on how to prevent it from happening.

When it comes to protecting your home from damage, one of the best places to start is to safeguard your home’s basement from flooding. So today, we would like to share with you our top five tips on how to help keep your basement from becoming flooded.

Figure your flood risk

One of the first things to do in preparing your home against flooding is to check how common flooding is in your local area. In Ontario, flooding is said to be one of the most costly natural threats that can happen year-round. Knowing the area your home is located in and any special circumstances — in which could make flooding a little more difficult — is key in preparing the best defense against flooding cause by weather.

Repair foundational cracks

Another great tip in keeping your home protected from flooding is fixing any and all foundational cracks. Small crevices can be filled with an appropriate sealant; while larger areas may need a professional to properly fix it. Regrading your yard can also help prevent flooding, as it can avert rain from building up around your home.

Correct or repair pipe leaks

A leaky pipe in your basement can seem minor; but if left unchecked, it can cause flooding in your basement. A leaky pipe can have a simple solution, such as tightening or fixing what is damaged. But if it is not corrected in time, the pipe could burst and produce even more damage. Simply mending and correcting small needed repairs can save a lot of time and money in the long run!

Maintain clean gutters

Eavestroughs or gutters are installed on a home to keep water away from the house. However, when your eavestrough is blocked by debris, the water can drain improperly and pool at the base of the home. This, in turn, can cause flooding in your home. Keeping water away from the house is the goal when you are trying to advert water buildup; this is where clean eavestroughs can be a key component in preventing basement flooding. Another tip is to keep your downspout at least two meters away from your home; this is to ensure it will drain properly and in the right area.

Consider sump pumps

A sump pump is a machine that takes out, from a home, excess water caused by a storm. The pump is only activated when water begins to fill it. Once the pump starts, it begins to automatically push out the excess water through a pipe, which leads outside away from the home. Many sump pumps work using electricity; so it is advised to have a backup generator in case of a power outage during a storm.

A flooded basement can be an unexpected interruption in your life. Being prepared can save you both time and money!

When disaster strikes, we restore with care

You want a professional to help you keep your home and property in great condition. As a family-owned business of emergency restoration experts, we, at Touch With Care, strive to give you the best service and information to keep your property in top condition! To learn more, contact us.

How to Prevent Spring Water Damage

How to Prevent Spring Water Damage

How to Prevent Spring Water Damage

In Canada, spring can mean a lot of wet weather and big storms. Here’s a quick guide on how to make sure that water damage from a flood is the least of your concerns.

Unclog your drainage system

Your gutters, downspouts, and drains accumulate dirt and debris during the dry months. A clogged drainage system makes it hard for water to flow out of your roof, causing damage to the roof and gutters. Clogged drains increase the risk of water damage due to overflow from the roof and other parts of your home or condo.

Clean your eavestroughs and downspouts before spring begins to ensure that the water flows down without blockages and obstructions. Make sure your gutters and drains are in good condition and replace damaged or leaking parts.

Inspect your roof

Your roof is the part of your property that is most susceptible to flood water damage during storms. Check your roof (safely) for damaged or broken shingles and replace them. Make repairs to bulging and leaky parts to reduce the risk of flooding during storms.

Repair cracks and weak points in the foundation

Small cracks and damaged parts in the basement and foundation can increase the risk of water damage to your home. These cracks grow into holes that seep in water during floods. The high water pressure during floods widens the cracks and holes, causing structural damage to your property. Reduce the risk of damage and flooding during spring storms by repairing cracks and other weak points in the foundation and basement.

Seal all major openings

During storms, water can enter your home or property through the most unlikely places. Broken door and window seals allow water to enter, leading to flooding and property damage. You can prevent such leaks by checking the condition of the seals around your windows and doors. Look out for cracked caulking, broken parts, and loose screws and make repairs and replacements where necessary.

Install a backflow pipe in the basement

Sometimes municipal sewer systems can be overwhelmed by flood water during storms. This excess water may flow back to the sewer lines on your property, leading to flooding. You can mitigate such risks by plumbing the fixtures at the lowest points on your property. Install a sewer backflow valve at strategic points to divert backflow water away from your sewer lines and back into the main municipal sewer system.

Hire professionals

You can prevent spring water damage by conducting routine property checks and repairs. However, some tasks may require professional services. We are experts in residential and commercial flood prevention.

Contact our Mississauga & Toronto offices to get a quote.