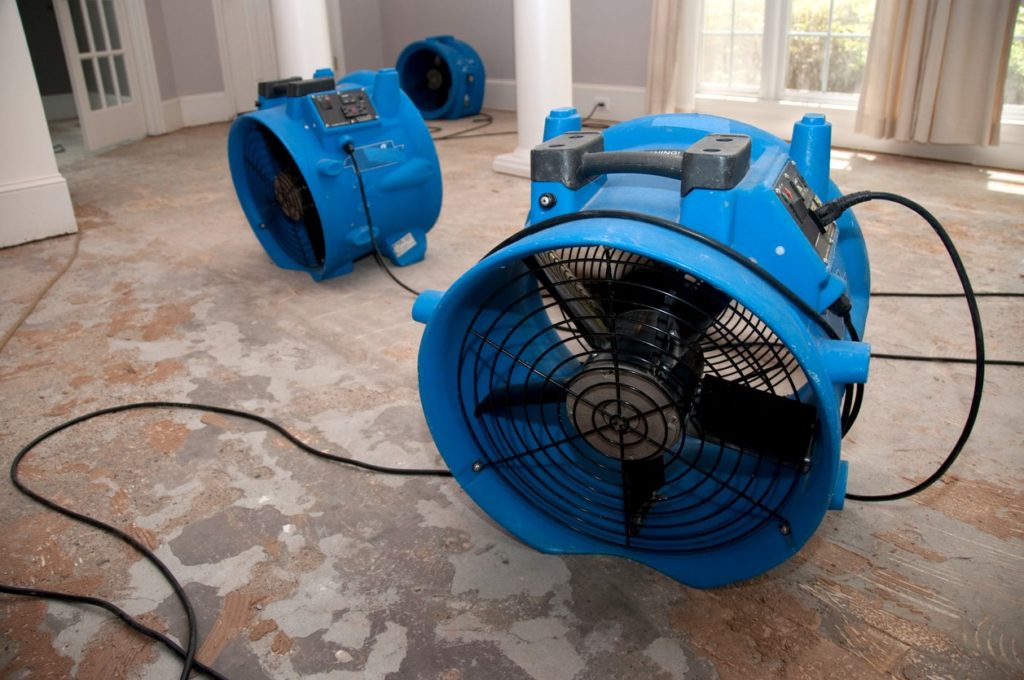
 Recovering from a flood is no easy feat. Check out our flood recovery checklist to give your home its best chance.
Flooding can be devastating to your home, which is why it’s essential to begin flood recovery work immediately. While it’s important to get experts involved right away, there are things you can do to help with property recovery. You’ll want to remove contaminated water, decrease indoor humidity, and deal with mold damage quickly.
We’ve compiled a flood recovery checklist to help get your recovery efforts started.
Step 1: Take precautions and make the right calls
Before anything else is done, you’ll have to make sure that flooding hasn’t destabilized your home’s structure. While working, always wear protective gear like boots, safety goggles and gloves.
Once you’ve taken the proper precautions, it’s time to call your insurance company. Your agent should help you with the next steps and can even recommend a professional flood damage restoration service.
Make sure to document all losses by taking photos with date and time stamps. You’ll want to have photo evidence of how high the water rose during the flood and all damaged personal belonging.
The next call you make should be to a licensed electrician since water damage can affect a structure’s electrical system. It’s not safe to do any electrical work on your own, even simply shutting down the main circuit box.
Step 2: Begin preliminary cleanup
Cleaning up after a flood is one of the hardest parts of a flood recovery checklist. This is a long process that can last anywhere from several weeks to several months. To start with, you’ll want to shovel mud from all hard surfaces. Spray wash when you can to help speed up the job. Use heavy-duty detergent and hot water to do an initial clean on all hard surfaces, then run fans and dehumidifiers to help with the drying process.
Disinfecting your home after a flood is difficult, but as a first step, you can mix a quarter cup of chlorine bleach with one gallon of water (4.5 litres). Make sure you’re wearing an N95 mask to protect yourself from mold spores and any airborne contaminants.
Step 3: Tackle the carpets and furnishings
While it’s impossible to prevent mold growth on carpets, mattresses and upholstered furnishings after a flood, you should still move destroyed items outside immediately to reduce humidity and mold cross-contamination in your home.
Furniture that isn’t completely destroyed should be dried inside, as sunlight can warp trim and frames. The drying process will take weeks or months.
Step 4: Deal with the walls and floors
Even if your walls seem undamaged, they could be hiding mold and wood rot. You’ll want to tear out the drywall above the waterline (which you would have documented in step one).
Once that’s done, remove any wet insulation, rinse off the remaining mud, and allow the area to dry out with the help of fans and dehumidifiers.
Post-flood, hardwood floors are susceptible to buckling. Avoid this by removing one floorboard every few feet. Before replacing and repairing the boards, make sure you clean and dry your wood floors. Like furniture, drying time can range from weeks to months.
To help the drying process, we recommend removing sheet and tile flooring. If you’re dealing with severe water damage, it’s best to leave this job to a flood damage restoration specialist.
Keep in mind that while you can dry damp wood subfloors, this is a lengthy process. Watch out for swelling and warping, and remember that plywood and OSB subfloors will have to be replaced if they were submerged.
Step 5: Keep cleaning
At this point, it’s important to identify what needs to be replaced and what can be cleaned and sanitized. Make sure to thoroughly disinfect walls, floors and woodwork to avoid more mold growth. Use a phosphate-free cleaner to sanitize walls, baseboards and floors, and clean walls from top to bottom.
You can kill surface mold using the chlorine bleach and water solution mentioned above. Again, make sure your fans and dehumidifiers are on day and night.
Once that’s done, identify what is destroyed and what can be salvaged. If possible, collect and keep all documents, records and photographs. Restoration specialists are often able to save some valuable items such as photographs and documents.
Step 6: Watch out for mould
Small mould cleanup jobs can often be tackled by a DIY method, but if you’re dealing with extensive mildew and mould issues, we recommend hiring a certified mould removal technician to help out. You’ll need a professional if:
- You’ve found mould growth in porous materials such as wall coverings, wood, concrete and drywall.
- Mould growth covers over 3 square feet.
- Mould is growing on hard-to-reach surfaces, like behind walls and inside your ceiling.
- Members of your household have respiratory or immune system issues, which can be exasperated by mould growth and spores.
Know when to call for help
Recovering from a flood is a long and arduous process. While our flood recovery checklist is a good start, it’s often crucial to get flood remediation experts involved to ensure your property is fully cleaned and any salvageable personal property can be restored. Our team of experts are happy to help turn your house into a home again.


